
So here's how we painted our floor...

It all started with my recent fascination with painted wallpaper
I had to do something fun like that. So I did. And this is how I did it...
For around $50.
We first started by peeling up all our lovely linoleum.


And it kind of took forever. Thank the Lord I had my hubby helping.
And using that really fun toxic glue taker-upper stuff {if you drink it you'll go blind, what?!}
does work wonderfully as long as it's the yellow glue and NOT the black glue {like in our entry} we found that out the hard way. {It's an icky sticky mess still at the moment as we're waiting to lay down a new subfloor}

Next we fixed and filled holes and screws with Elmer's Wood Putty.


Then we sanded like crazy. Wait. Sorry, my husband sanded like crazy. I didn't touch the sandpaper as I hate sanding. He used the courser sandpaper for the bare subfloor.
Next it was time to prime. Then sand again {this time with a lighter weight sandpaper}.


{thanks babe}
Just a note... our appliances scuff up the paint so I decided to prime and paint behind them and move them into place first before I painted anywhere else.

Next I painted the gray. Then he sanded {lightly}. Then I painted another coat of gray. Then he sanded again.
On to stenciling!

I just got this at Hobby Lobby. They sell stencil sheets you can cut yourself as well {I was short on time, otherwise I would have... but this worked beautifully}


I started stenciling on a faint level line I could see in the floor- make sure you start on a level line otherwise your pattern will be off when you hit the walls. {NO fun}
The easiest way to stencil is to mark the triangles in the corners and then continue to just line it up as you go. I had no issues with the stencil ever being off.

It took me two nights to stencil the entire floor, but honestly it wasn't so bad. I was sitting the whole time and it was kind of relaxing actually {especially with my Coke and Pringles}


And there you have it!
{We will most likely also be adding a layer of polyurethane as well, just for added protection since it's a highly used area}
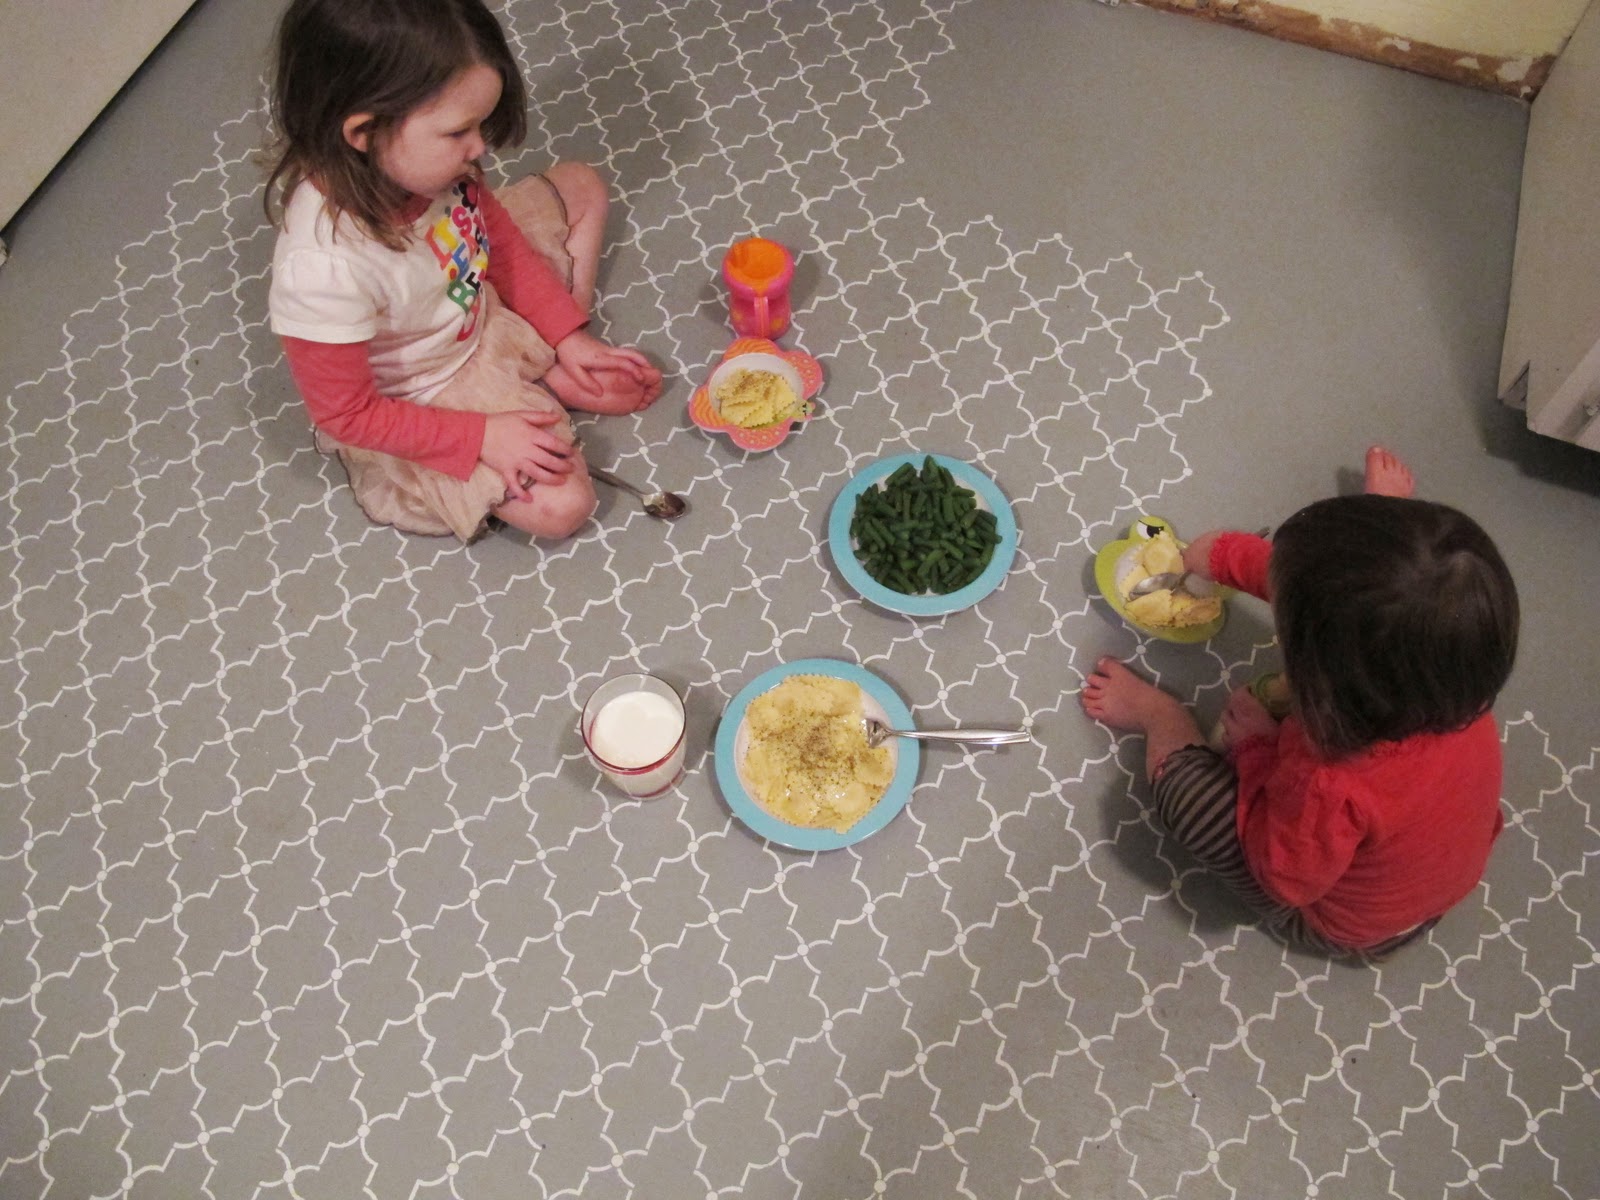
{Oh, and I'd like to thank my little helpers who I could have done this project without, but it wouldn't have been as fun.}


FABULOUS!!!!! Linking this weekend, love this so much!!!
ReplyDeletexo
Kate
i love this too....we are in the process of getting new floor for our kitchen (wood) but this would be waaaaayyyyy cheaper....i wonder if i could get my husband on board for this..hmmmm!!
ReplyDeleteit really looks great....
hugs, cindy
Such a great kitchen overall and this idea is so pretty!
ReplyDeleteP.S. I think we have the same cake stand. Did you know it was in the Gilmore Girls?
I can't tell you how much I love this. The color, the stencil, the idea. Great job!
ReplyDeleteWow, that is so amazing! Your helpers are so darn cute. I just love the look of it, it really looks like expensive flooring now. You guys did a great job.
ReplyDeleteThank you all for your kind comments!
ReplyDelete@Cindy- it does require a little more upkeep than wood, we have wood in the rest of our house and I've had to mop it more, but it's too fun and I wouldn't change it!
@Tanya- I didn't know that, but am happy to find that out! :)
Absolutely beautiful!!! The floor looks amazing and $50-WOW! Love the kids eating on the floor, my kids are always working around my crazy projects too.
ReplyDeleteI LOVE it! We have pergo floors in our kitchen and I despise them. They're so hard on the feet and their not fooling anyone with their look-alike wood. So this idea sounds great! Good job on all the prep work too - lots of work.
ReplyDeleteAbsolutely FANTASTIC!!
ReplyDeleteYour floor is gorgeous!! Love love love the idea!!
ReplyDeleteVisiting from CG, love what you have done!... Simply gorgeous.
ReplyDeleteThat is so fabulous ....great job
ReplyDeleteHello! I am visiting from the link party at Jones Design Co. I just had to stop by and tell you how fantastic your floor looks!! What a great idea!!!
ReplyDeleteaaaaaaaaah! i cannot tell you how excited i am to have found this post! our house was built in 48 and has beautiful hardwood, but the kitchen still has ugly linoleum and i've been waiting for just the right idea to come along....and now it has! :) painting the subfloor...who knew!? :)
ReplyDeleteOh I bet it would look lovely in an old home! Show me pictures if you do it! I'd love to see!
ReplyDeleteGreat job! Not sure I would have the patience for this but I love how it turned out~ bravo!!
ReplyDeletexo~
T
Super cute! It looks REALLY good!
ReplyDeleteI'm wondering if you can paint over existing linoleum if you prime it first?
ReplyDelete(I usually don't leave comments and this is the first time I have been to site) BUT I was actually looking for design ideas for my stencil to do this to my master bedroom floor! We just never seem to have the money to re-do our room and I am so sick of the carpet! thanks for giving me back up! (I think my hubby thinks I am crazy) Your site is great and your floor looks incredible.
ReplyDeleteI will be checking in for more ideas in the future!
@Cynthia- I would say no, but check with Lowes- they're usually really helpful with stuff like that :) It wasn't too hard to take up the linoleum, that glue remover stuff worked great (but again, as long as it's the yellow glue!)
ReplyDelete@Robin- Thank you! I'm honored by your comment :) Let me know if you paint it, I'd love to see it!!
Wow! This looks amazing, I'm super impressed! We're installing plywood flooring in our nursery, and while my husband wants to stain it, this makes me want to paint!
ReplyDeleteBeautiful transformation, the color and pattern you used are delightful, what a difference this makes in your kitchen. I love it!
ReplyDeleteI need new flooring in my house...so not in the budget right now. I was thinking about painting my sub floors too, after seeing this I'm going for it. Your floor turned out gorgeous. I love the stencil. I'm visiting from How To's Day and am now following. Please stop by for a visit when you can.
ReplyDeleteThis is a really nifty idea that I would have never considered. Thanks for bringing the idea to "life".
ReplyDeletei echo everyone else... amazing! we're renovating a house built in '35... i painted the floors in our bedroom in a wide stripe that I LOVE but never would have thought of doing the kitchen!?!
ReplyDeletehow is it holding up? did you end up putting the poly on top? i'm curious as to the dirty factor... Thanks much!
I can't actually answer because no we haven't done the poly yet, and it gets pretty dirty. I'll let you know when we actually get around to that, I know it will make my life a lot easier! :) It is cracking in a few spots, and I wonder if the poly would make a difference in that- right now I would recommend a painted subfloor for temporary use, how are your wood floors holding? I'd love to see a picture! Send me one if you're able! :)
ReplyDeletewow! your floor looks great! you did a beautiful job!!
ReplyDeleteAwesome job, I think I am going to try this in my pantry! Thanks for the step by step!
ReplyDeleteWould you share the color (gray) on the floor?
ReplyDeleteLOVE IT!
Alicia
Love, love, love your floor!! I've got this linked to my stenciling project post too today, for inspiration!
ReplyDeleteI found this on pinterest! I love this idea. It's beautiful!! Hope you are enjoying it. ~ Megan
ReplyDeleteYour floor is still gorgeous (I've kept this bookmarked for like, evah) and I've got this linked to my painting floors post too today, well done!
ReplyDeleteFor those who want to have a refreshing look for their kitchen floors, stenciling is one way to go. The sample given in this post shows that home owners do not have to worry about high remodeling costs if they have the time to do it themselves. This is an inspiration to other home owners out there. Thanks for sharing!
ReplyDelete