Showing posts with label diy. Show all posts

Saturday, March 12, 2011

how to: stencil a floor

So here's how we painted our floor... 


It all started with my recent fascination with painted wallpaper

I had to do something fun like that. So I did. And this is how I did it...

For around $50.

We first started by peeling up all our lovely linoleum. 


And it kind of took forever. Thank the Lord I had my hubby helping. 

And using that really fun toxic glue taker-upper stuff {if you drink it you'll go blind, what?!}
does work wonderfully as long as it's the yellow glue and NOT the black glue {like in our entry} we found that out the hard way. {It's an icky sticky mess still at the moment as we're waiting to lay down a new subfloor}


Next we fixed and filled holes and screws with Elmer's Wood Putty.


Then we sanded like crazy. Wait. Sorry, my husband sanded like crazy. I didn't touch the sandpaper as I hate sanding. He used the courser sandpaper for the bare subfloor.

Next it was time to prime. Then sand again {this time with a lighter weight sandpaper}.


{thanks babe}

Just a note... our appliances scuff up the paint so I decided to prime and paint behind them and move them into place first before I painted anywhere else.


Next I painted the gray. Then he sanded {lightly}. Then I painted another coat of gray. Then he sanded again.

On to stenciling!


I just got this at Hobby Lobby. They sell stencil sheets you can cut yourself as well {I was short on time, otherwise I would have... but this worked beautifully}


I started stenciling on a faint level line I could see in the floor- make sure you start on a level line otherwise your pattern will be off when you hit the walls. {NO fun}

The easiest way to stencil is to mark the triangles in the corners and then continue to just line it up as you go. I had no issues with the stencil ever being off. 


It took me two nights to stencil the entire floor, but honestly it wasn't so bad. I was sitting the whole time and it was kind of relaxing actually {especially with my Coke and Pringles}


And there you have it!

{We will most likely also be adding a layer of polyurethane as well, just for added protection since it's a highly used area}

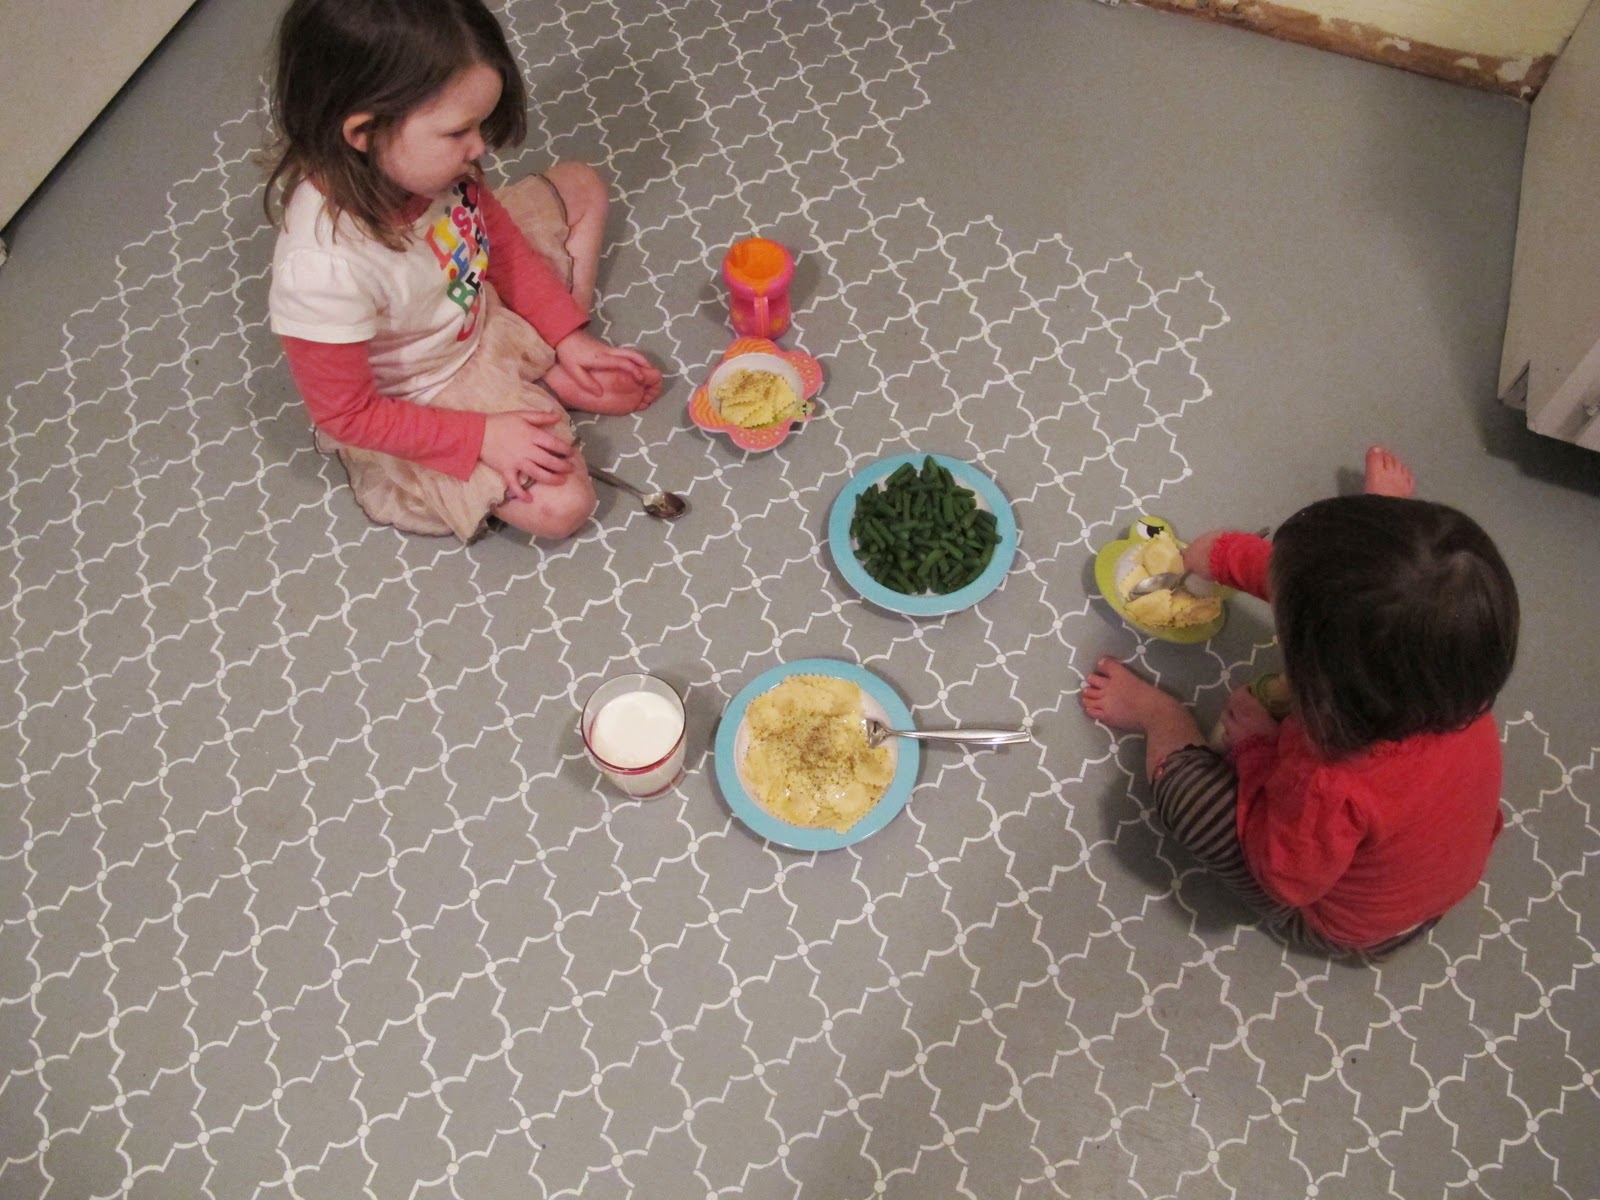
{Oh, and I'd like to thank my little helpers who I could have done this project without, but it wouldn't have been as fun.}


share your project

Friday, March 11, 2011

my stenciled floor

Ah, it's been a long time coming, but here it is! My most anticipated project is finally complete. What do you think?


{Oops, sorry for the not great before picture, I remembered to take one after the linoleum was already being taken out}


Still need to add those light covers...


It only took forever! {Really it wasn't so bad, just longer than anticipated}
Tomorrow I'll show you how I did it! 

Friday, January 21, 2011

adding {character} to your house

I'm in the planning and dreaming mode of re-design.

Can I tell you how much I love a house with character? LOVE old houses that have beautiful moulding, crystal door knobs, built-ins, old fixtures. Unfortunately our house was built in 1967 during a time when houses were built pretty much cookie cutter without much character. I've always wanted to live in an old house, maybe someday... but in the meantime I can add some character myself.

Like a crystal chandelier for the dining room...

photo from Coastal Living

And some paneling...

photo from McCabe Lumber

I have to say I'm REALLY excited about adding paneling. And I refuse to spend a fortune, so I'll share with you how I do it when it comes time. Until then,

Here are some of my favorite ways to 
add character to a house:
  1. Add crown moulding 
  2. Replace flat doors with paneled doors
  3. Add vintage or interesting hardware to cabinets and doors
  4. Exchange outdated {un-pretty} fixtures with vintage or stunning new ones {I like the new ones that look old}
  5. Add wall sconces 
  6. Buy ornate outlet covers, switch plates, and vent covers to replace the white {or worse- beige} ones.
  7. Add paneling to walls {no not that 70's retro pretend wood that covered whole walls- although I've seen that painted and it can look really good... painted} 
  8. Build a fireplace {even if it's faux} 
  9. Add built-ins {shelves, cabinets, desks, even murphy beds}
  10. Update your front door with a pretty leaded glass door
  11. Instal french doors {I love them in offices and dining rooms... pretty much anywhere} 
  12. Refinish or put in wood floors 
  13. Use antiques {an old desk for a bathroom vanity? Vintage curtain rods?} 
  14. Dare I say... wallpaper? I know... I'm even scared of it, but have you seen new hotels that use it to texture a wall? It looks incredible! Or really fun big vintage patterns... but paint can also add nice texturing. {I think wallpaper is coming back- mark my words}
  15. Expose {or add "exposed"} beams to the ceiling 
  16. IF you need to replace windows... go for the really pretty, original designs {by no means replace them to just to replace them- if you're going to do that call me, I'll find a use for your old ones}
  17. Spiral staircase anyone? My parents somehow managed to add two to their house- but they are fun and very pretty. {There's no way one would fit in our house but I wish}
  18. How about outside... a cobblestone pathway or patio
Hope this inspires you! 


Monday, January 17, 2011

for paper

I needed something to put my scrapbook paper in... 

So I made this- {Using chipboard and pretty paper from The Paper Source}


It's very roomy.


And makes me happy.


Friday, January 7, 2011

things we build

I've been married to Ben for 5 years. In 5 years of marriage we have never had a headboard for our bed- until just a few months ago when I decided to go to Lowes and buy lumber to build one myself. It worked out perfectly because as I walked through our door my non-carpenter husband said, "you're not building it, I am." {Of course I'm much more of a non-carpenter than he is}.

We've only ever helped our parents build things for us {like our downstairs bathroom and back deck, but never furniture, and never by ourselves}.

So this was an adventure. Let me start out by saying I've never known someone to be more of a perfectionist than Ben. Which is why the headboard is perfect, but I'm fully confident you can do this project, it took him {remember a non-carpenter- who as a perfectionist works slower than most} about an hour to build!


I got this plan off Ana-White.com {one of my favorite blogs}. It's the same as this $800 Pottery Barn headboard. We modified the plans a little bit {instead of adding in 1x6 boards we stuck with the 1x4's the whole way for price sake- adding them in would have been about an extra $20}


This cost us around $70 to build.


At first I wanted to just paint it, but Ben liked the grain of the wood too much, and I had to agree with him. So for the finish I liked the idea of a weathered look, so I first stained it white {I believe the guy at Lowes called it "pickling"}

Next I painted a dark gray paint over it {only a little at a time} then wiped it off with a rag. {If you're going to do this technique remember to stay with the grain}.


It only took me about an hour to stain and do the weathered finish.

We waited a night to bring it upstairs so it would have ample time to dry.


And there you go- for $70 and two hours, a handmade solid {$800 look} headboard!


Thursday, December 9, 2010

the wonders of die-cutting

A few weeks ago I made an impulse investment purchase on a die-cut* machine. I was at Archiver's and just happened to buy the Big Shot on super sale {that is I was given a coupon}. I must say after buying it I don't regret it AT ALL. I'm SO excited about all the possibilities with this thing!

First of all, the Big Shot is not the Cricut or Silhouette machine. It's not computerized in any way {which I'm kind of glad for, I'd rather it just be manual, I feel like less could break that way and it's less complicated, oh and it's less expensive!}. And it's really versatile. I can use practically any brand of letterpress, die-cutting, or embossing products with it. 

*If you're like me a few weeks ago, you have no clue what "die-cutting" means. It's simply a machine that will cut all kinds of intricate shapes and patterns for all sorts of materials: paper, cardstock, fabric, chipboard etc.


Look at all the fun stuff I can make!


pretty envelopes!


notice the embossing as well 


:::

How fun! Here's where you have to be careful though, the machine it self is about $60 or $70 with a coupon from Archiver's, but to use it you'll need to buy embossing folders, die-cuts, letterpress supplies... you could really go crazy. I'm starting to in fact. I'm glad Christmas is right around the corner, I'm hoping to get lots of this extra stuff so I can begin making pretty cards and invitations! I've also seen all that stuff on Craigslist too, you can keep an eye out if you want to get in to it.

Anyway, you can see I'm excited, I hope you're inspired! 


Monday, December 6, 2010

bag {tutorial}

It's here- the tutorial I've been promising. Sorry for the wait! It ended up taking a bit longer than anticipated, but look! I have a new bag out of it and you have a tutorial on how to make it! 

This simple bag tutorial can be the base pattern for practically ANY bag: clutches, totes, and big purses or diaper bags like this one. And of course it can be modified in any way shape or form! 

:::


You'll need:

Beautiful fabric for the outside {I used a print from Amy Butler's Love collection that I bought at Urban Arts and Crafts. If you're outside KC I'm sure you can find it on ebay.} I suggest a heavier weight upholstery fabric, and you'll need about half to three quarters yard depending on the bolt size. 

Fabric for the inside- I used a basic black quilting fabric- grab a yard just to be safe.

One or two yards of heavy {one side fusible} interfacing

Coordinating thread

Magnetic closures {optional}

STRONG needle {and a few extras in case it breaks}

{All the yardage will depend on how big or small you want your bag}


:::

Start by cutting two pieces of your upholstery weight fabric to your desired size. For this bigger bag I measured them to be 27" by 14". Make sure you have your fabric design centered to where you want it.

{don't forget to factor in the depth of the bag when measuring your sides, in the end the width of each side will be 6" narrower.}


Next cut squares on the bottom two corners of your fabric. I measured 3.25" x 3.25" {or there abouts} - enough for the corners of the bag and the seam. After cutting one square I simply folded the fabric and copied the square to the other side so they would be the same. Repeat for the other piece.


Now trace your 'pattern' onto the fabric for the inside of the bag and interfacing. {Just a note, the inside fabric will need to be sewn just a bit smaller than the outside, so it will fit inside without any problems}

Cut out all the pieces. You will have 6 total, with each having squares cut out of their bottom two corners.


Now you'll need to fuse together your fabric for the outside of the bag and your interfacing. Make sure you read the directions on the paper that comes with the interfacing to be sure you're doing it correctly. 


Now it's time to sew. Grab your fused fabric and face the pretty sides together so your interfacing is out on both sides. Now sew three seams: down one side, across the bottom, and up the other side. Don't sew the top or the corners. 


Next you'll sew the corners. Take the seam on one side and the seam next to it on the bottom and have them touch {do you see your corner?} Now just sew it across! Do the same for the other side.


And you should have this:


Next sew the inside fabric the same way: pretty side facing pretty side except this time leave a gap in the bottom {it should be at least 6"} you don't need to worry about finishing the stitch on the bottom, you may need to seam rip it apart more before the end.


Now would be the time to add pockets if you so desire! 

Now you have two bags, one having a hole in the bottom. Flip both inside out {if they aren't already} so that the ugly is on the outside and the pretty is on the inside. Now put the inside fabric inside of the outside and pin it. Make sure the tops are aligned.


If you'd like a shoulder strap or straps attached from the inside, now would be the time to pin it in as well, the entire strap would be hidden between the fabric pieces except the ends of the straps that would be sticking out on either side.


I didn't make a closure for this bag, but they aren't hard to do, and there are many options. {I like magnetic closures- you can find them at fabric stores and they are very simple to attach} you'll want to attach them before you sew your two fabric pieces together.

Now sew it around and remove the pins.


Carefully reach in and pull the bag inside out. Then stick the inside fabric inside. 


Because of the stiff interfacing, you'll need to iron down your sides


and you have:


Now you'll want to sew the hole in your inside fabric {that is if everything looks ok and no more modifications need to be made}

Now it's time to make some straps- I used this strip of leftover fabric and cut it in half.


Next I folded it in on itself and sewed it together, flipped it, and ironed it. {Do that again for the other strap}


For an outside attachment, sew a square and an x in the middle {I went over each 3 or 4 times to ensure strength}

You can also attach the straps on the inside of the bag back when you attached the inside and outside fabrics.


Repeat that for all the straps and you're done!


LinkWithin

Related Posts Plugin for WordPress, Blogger...