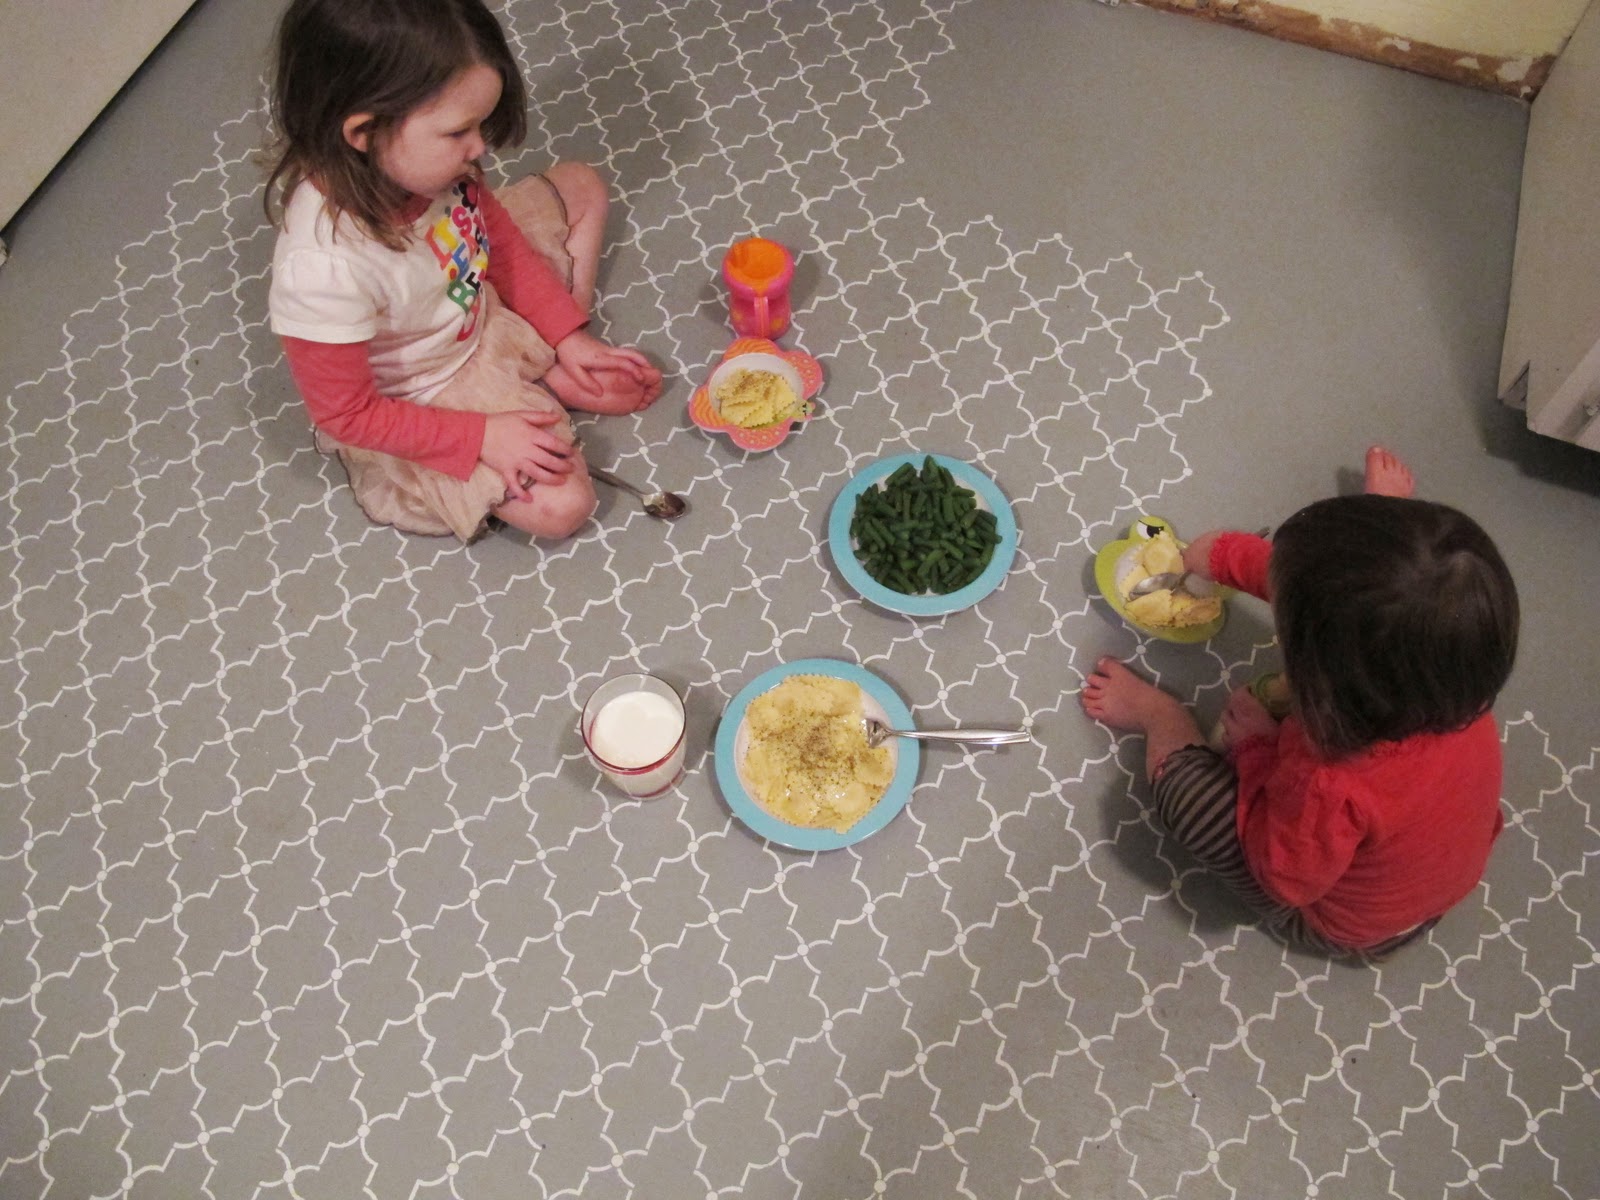
So here's how we painted our floor...

It all started with my recent fascination with painted wallpaper
I had to do something fun like that. So I did. And this is how I did it...
For around $50.
We first started by peeling up all our lovely linoleum.


And it kind of took forever. Thank the Lord I had my hubby helping.
And using that really fun toxic glue taker-upper stuff {if you drink it you'll go blind, what?!}
does work wonderfully as long as it's the yellow glue and NOT the black glue {like in our entry} we found that out the hard way. {It's an icky sticky mess still at the moment as we're waiting to lay down a new subfloor}

Next we fixed and filled holes and screws with Elmer's Wood Putty.


Then we sanded like crazy. Wait. Sorry, my husband sanded like crazy. I didn't touch the sandpaper as I hate sanding. He used the courser sandpaper for the bare subfloor.
Next it was time to prime. Then sand again {this time with a lighter weight sandpaper}.


{thanks babe}
Just a note... our appliances scuff up the paint so I decided to prime and paint behind them and move them into place first before I painted anywhere else.

Next I painted the gray. Then he sanded {lightly}. Then I painted another coat of gray. Then he sanded again.
On to stenciling!

I just got this at Hobby Lobby. They sell stencil sheets you can cut yourself as well {I was short on time, otherwise I would have... but this worked beautifully}


I started stenciling on a faint level line I could see in the floor- make sure you start on a level line otherwise your pattern will be off when you hit the walls. {NO fun}
The easiest way to stencil is to mark the triangles in the corners and then continue to just line it up as you go. I had no issues with the stencil ever being off.

It took me two nights to stencil the entire floor, but honestly it wasn't so bad. I was sitting the whole time and it was kind of relaxing actually {especially with my Coke and Pringles}


And there you have it!
{We will most likely also be adding a layer of polyurethane as well, just for added protection since it's a highly used area}
{Oh, and I'd like to thank my little helpers who I could have done this project without, but it wouldn't have been as fun.}