Thursday, December 16, 2010

a present and christmas cards

I've mentioned before that I just adore my mom's group. We just had a wonderful Christmas party {turkey dinner included} and handmade gift exchange. So here's what I made:


A handmade recipe book 


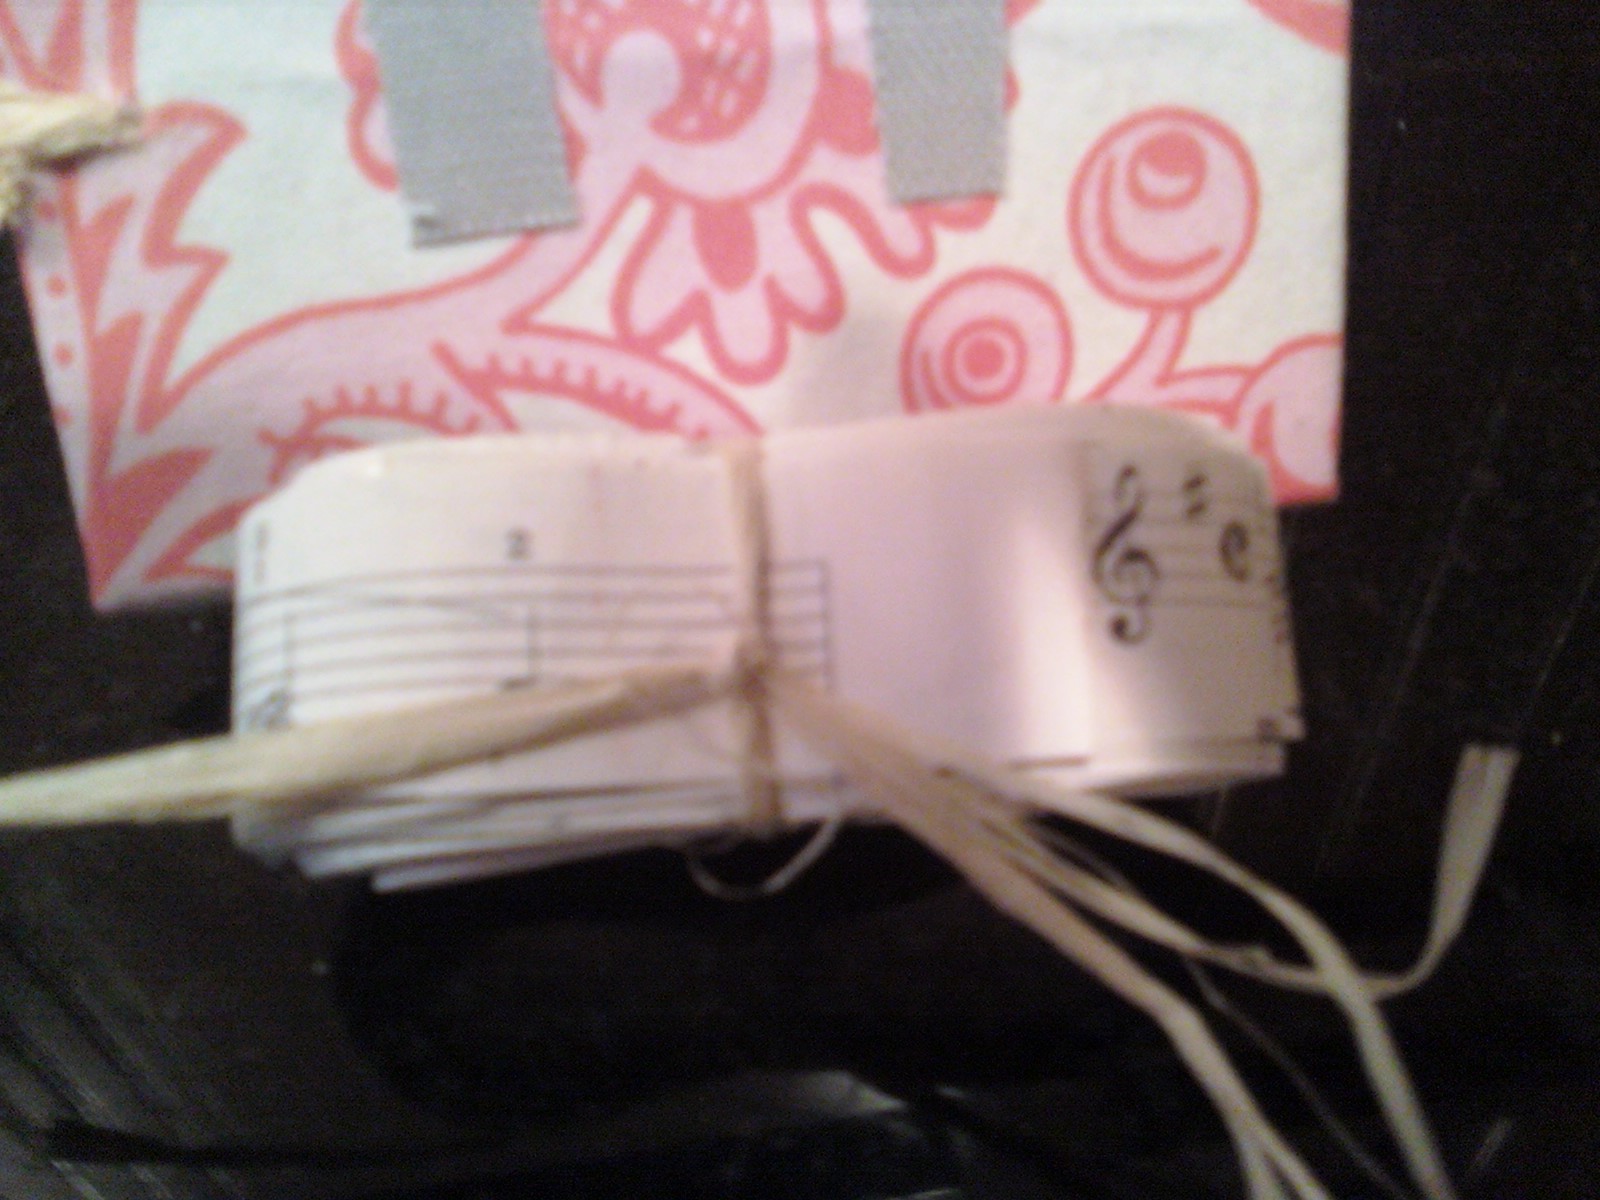
And some sheet music garland. Happily it went to my friend who had been looking for a recipe book just like this. I love it when that happens. I received beautiful handmade cards. I love handmade cards! {Well I just love handmade anything!}

:::

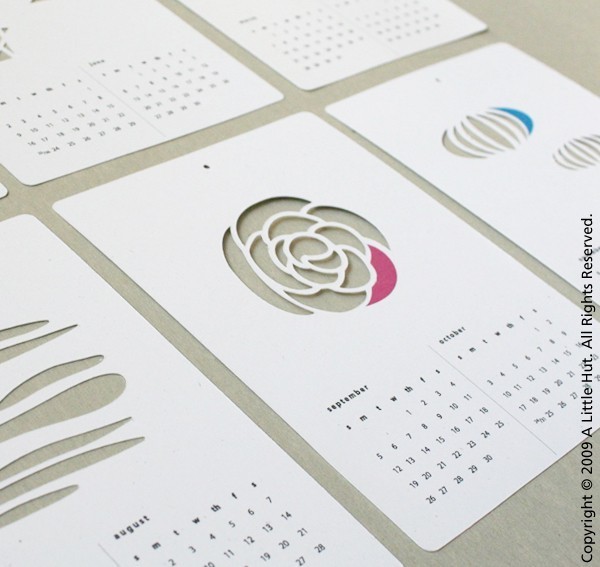
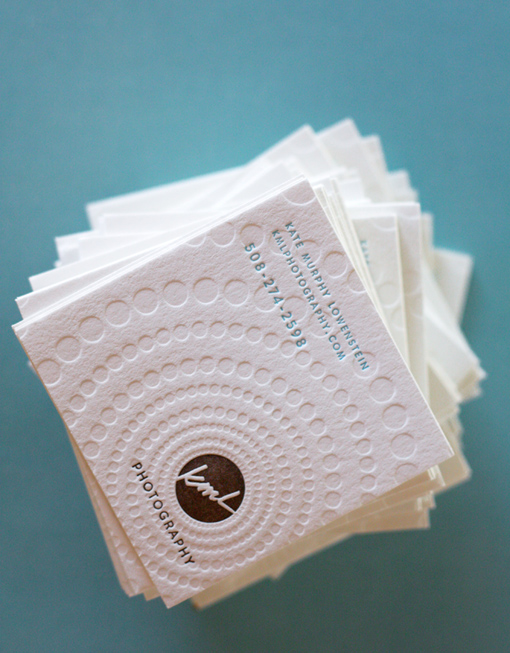
In other news all my Christmas cards are complete! I designed two cards I'll share with you:


but failed to get them printed in time... sad. Had to rely on Walgreens this year:


Still pretty {and two minutes to make and an hour to print} just not my design.

but addressed and ready.


Christmas is coming!

Monday, December 13, 2010

craft room: go!

We're about to add a bedroom downstairs that will be a guest bedroom/office. Really it will be MY office which means it will be crafting paradise! I'm beyond excited as you can imagine. {Especially since right now my 'craft room' is my dining room and my storage space is behind the chair in the living room and in other random spots around the house- blah!}

So as I embark on designing a craft room from scratch I thought I'd share with you some of my inspiration so far. {Keep in mind I'm working with limited space, our room is 7 1/2' x 10 1/2'}


I LOVE this desk! Look how big the top is! Perfect for cutting fabric or doing big projects.
PS... I would totally make mine from this plan off ana-white.com


Look at this storage amazingness from Smashed Peas and Carrots
MINI FABRIC BOLTS! Can you say genius!? 


Limited space? No worries! 
And you can hide it all when you're done! 


Lovely.
although would require much more space... lovely.


Yes please. I love the LABEL pulls. Aren't labels wonderful??


I want that kind of paper storage- for that pesky 12"x12" scrapbooking paper that fits no where!


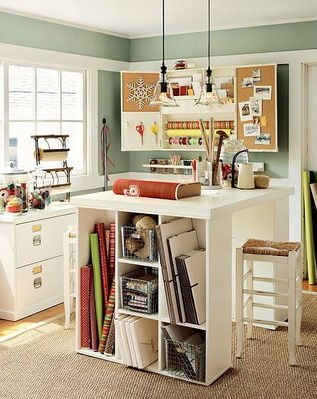
Can't say enough about this perfect space from inspiration headquarters, Pottery Barn


I love the shabby look of tis room- and the separate table for cutting or projects.


And of course what craft room isn't complete without a vast array of thread - organized perfectly. And don't forget the ribbon! {Putting ribbon on a spindle like this is the only way to store it... I've found}


:::


The most important things to remember when designing YOUR craft room are:

*LOVE your space*
Pick colors and furniture you love and makes you happy- you will want to be in a room that makes you happy!

*Organize!*
You won't want to return to a space that is cluttered and crazy, so organize on the front end so you don't ever get to that point: that means no 'etc. drawers'. Have a jar for buttons, pegs for thread, shelves for paper, mini drawers for zippers, and magnets. You get the idea. Everything has a place and everything having a place is bliss!

For ours so far I'm leaning toward that first table/cubby system because it's compact and useful. I think I'll do shelves on the wall with lots of jars! I also want a day bed like this one so our room can double as a guest room {always useful} plus, those extra storage compartments could come in handy:


{this Pottery Barn plan is also found on ana-white} 

:::

I love redesigning rooms! Hope you're inspired to make your own craft room too!

Friday, December 10, 2010

christmas centerpiece tutorial {a few dollars & 10 min}


What you need:

Pinecones {I found mine at a park!}
Candles {I already had these}
Glitter stem from Hobby Lobby floral section {at half price it's $1 something}
Wire cutters
Spray paint {$.97 from Wal-Mart} 
Silver glitter {optional}

:::


First I spray painted the pinecones- it took NO time at all, it took less than a minute to spray and a few minutes to dry. If you want to add glitter to the pinecones, do it while the paint is still wet.

Then I cut off the little leaves from the glitter stem using wire cutters


Set the candles in the middle of the tray {I had this tray, but you can use anything, even a plate}


The filled it with pinecones then the leaves


DONE


And so pretty!
Thursday, December 9, 2010

the wonders of die-cutting

A few weeks ago I made an impulse investment purchase on a die-cut* machine. I was at Archiver's and just happened to buy the Big Shot on super sale {that is I was given a coupon}. I must say after buying it I don't regret it AT ALL. I'm SO excited about all the possibilities with this thing!

First of all, the Big Shot is not the Cricut or Silhouette machine. It's not computerized in any way {which I'm kind of glad for, I'd rather it just be manual, I feel like less could break that way and it's less complicated, oh and it's less expensive!}. And it's really versatile. I can use practically any brand of letterpress, die-cutting, or embossing products with it. 

*If you're like me a few weeks ago, you have no clue what "die-cutting" means. It's simply a machine that will cut all kinds of intricate shapes and patterns for all sorts of materials: paper, cardstock, fabric, chipboard etc.


Look at all the fun stuff I can make!


pretty envelopes!


notice the embossing as well 


:::

How fun! Here's where you have to be careful though, the machine it self is about $60 or $70 with a coupon from Archiver's, but to use it you'll need to buy embossing folders, die-cuts, letterpress supplies... you could really go crazy. I'm starting to in fact. I'm glad Christmas is right around the corner, I'm hoping to get lots of this extra stuff so I can begin making pretty cards and invitations! I've also seen all that stuff on Craigslist too, you can keep an eye out if you want to get in to it.

Anyway, you can see I'm excited, I hope you're inspired! 


Wednesday, December 8, 2010

it's christmas {party} time! {and our silhouettes winner!}


Planning a holiday party this year? I just love get togethers, for any reason, but especially for CHRISTMAS!

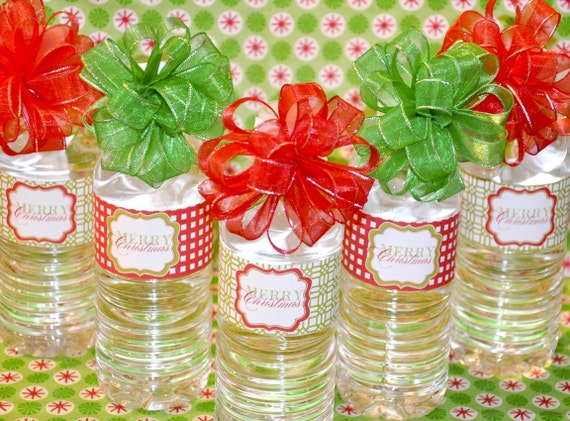
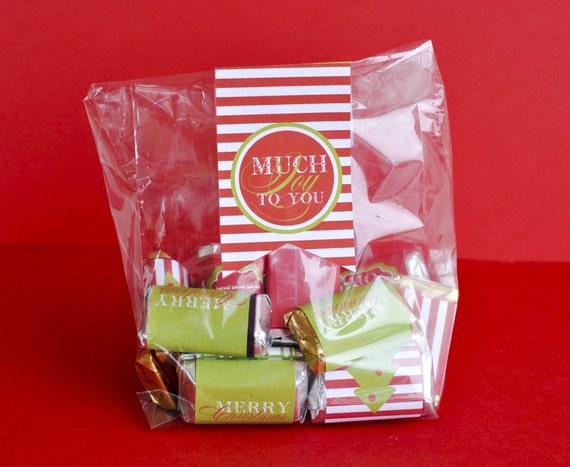
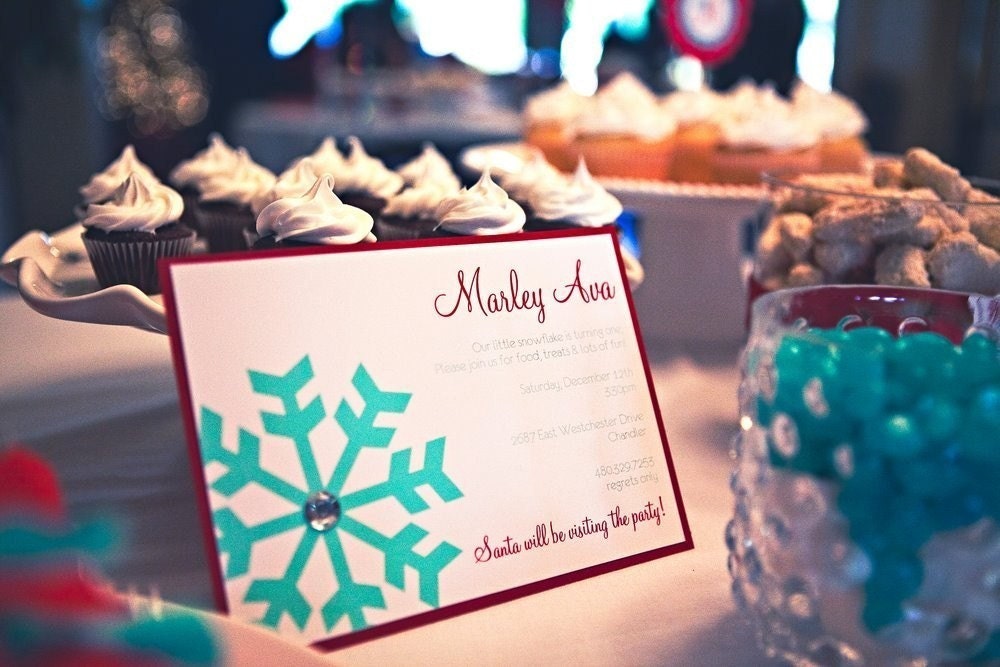
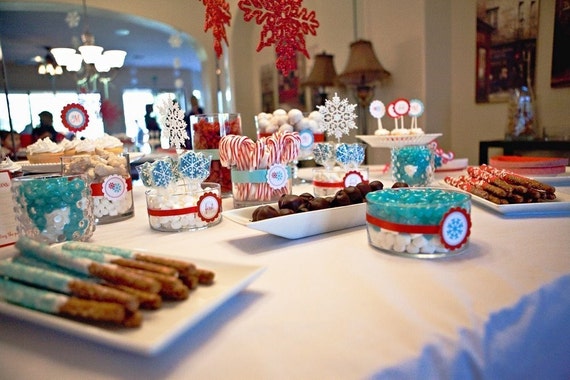
Take a look through these beautiful party ideas and be inspired!


Party No. 1 

Vintage Rudolf 


Party No. 2

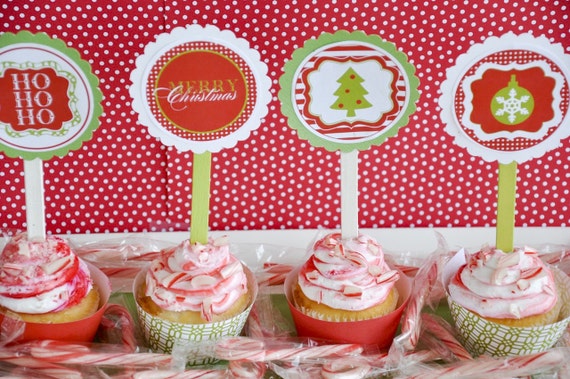
Traditional Christmas 


Party No. 3

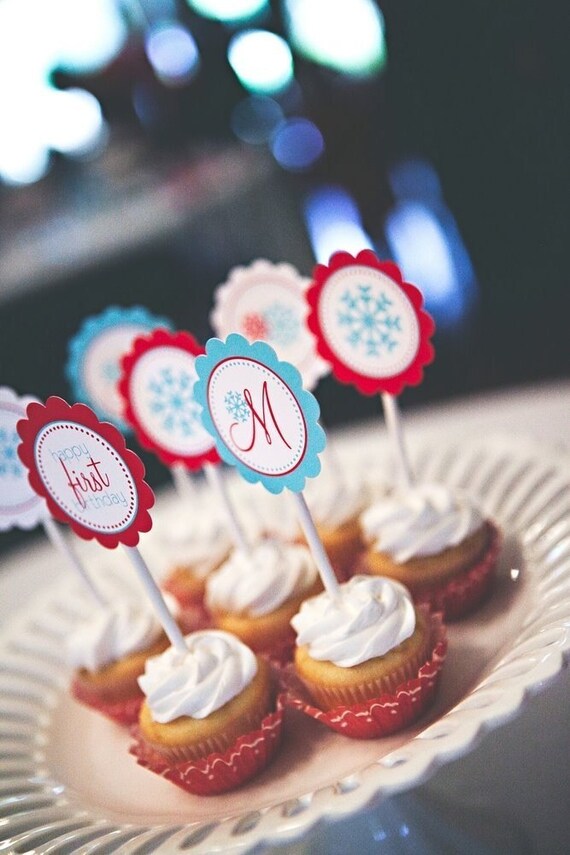
Red and Aqua Sweet Snoflake


Party No. 4 

Gingerbread Playdate
by Savvy Mom's Guide


Party No. 5

Silver White and Red Dessert Table


:::

Announcing the Silhouettes winner!


Didn't win? I'd still love to make you some silhouettes! Visit my shop and shoot me an email.


LinkWithin

Related Posts Plugin for WordPress, Blogger...